EHR-Africa User Manual
Plain-language help for everyday clinic work. Last updated July 2026.
1. Login and Register
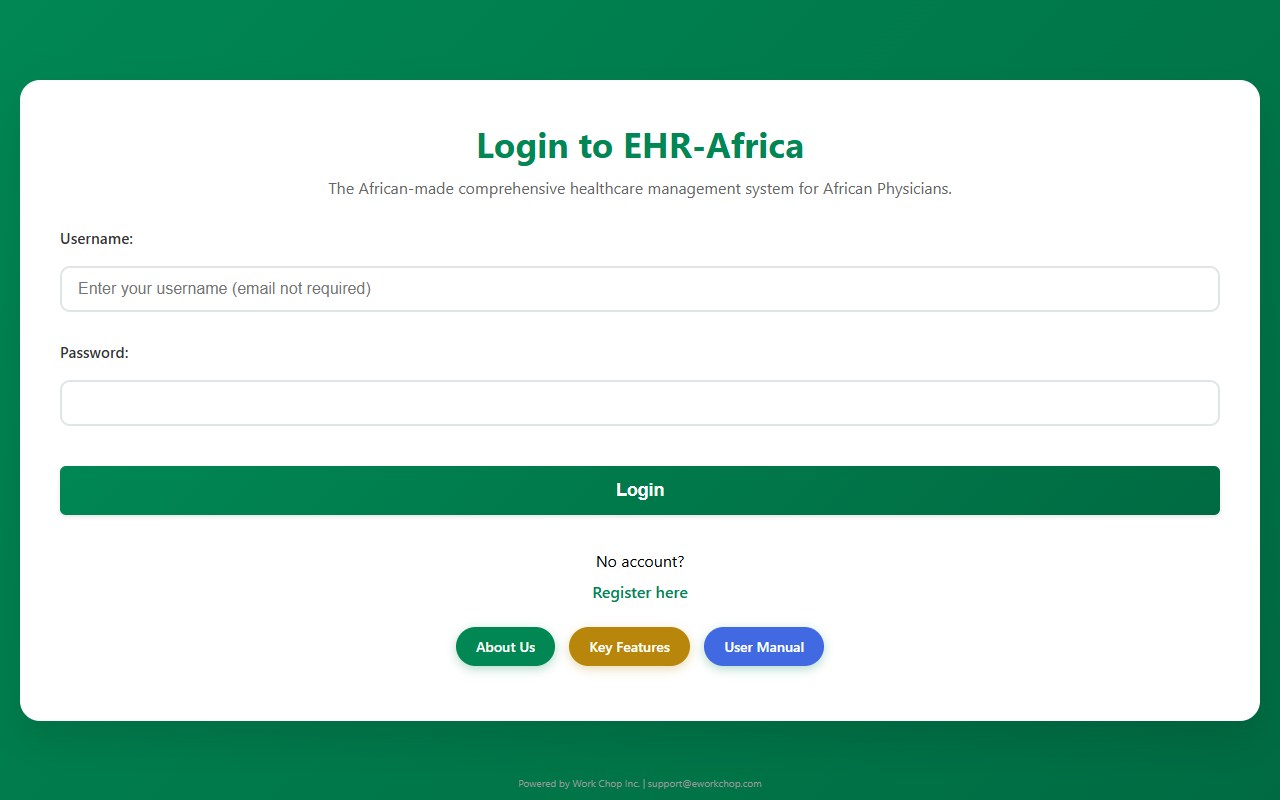
- Open your clinic’s EHR-Africa website.
- Enter your username and password.
- Click Login.
New clinic? Use Register to create an organization. Joining a clinic? Use Register and join with your organization code from your admin.
Registration locked? See When Something Goes Wrong.
2. Your Dashboard
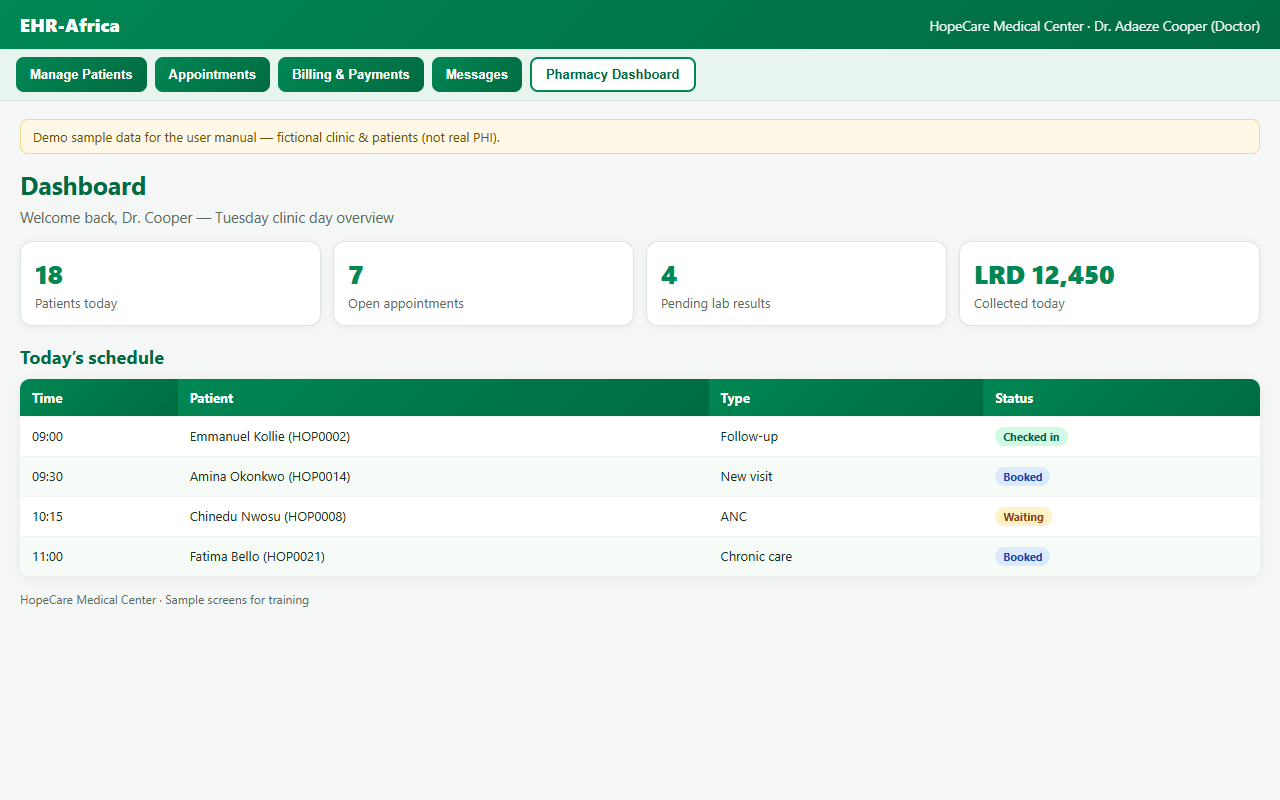
After login, the Dashboard is your home. Buttons open patients, appointments, billing, messages, and more. What you see depends on your role.
| Button | What It Does |
|---|---|
| Manage Patients | Search, register, open charts |
| Review Patient Intake | Approve public registration submissions |
| Manage Appointments | Book and edit visits |
| View Schedule Calendar | Daily, weekly, or monthly schedule |
| Billing & Payments | Invoices, quick checkout, cash register |
| Insurance Claims | HMO claims workspace (if your clinic uses it) |
| Messages & Tasks | Staff messages; patient portal replies |
| Setup Patient Portal | Create patient logins |
| Configure Facility Schedule | Hours, lunches, holidays (admins) |
| Doctor Daily Schedule | Per-doctor day view with open slots |
| View Reports | Clinic analytics and exports |
| Workflow Health Check | Self-check for common setup issues |
Tip: If you do not see a button, your role may not include that area. Ask your clinic administrator.
3. Patients
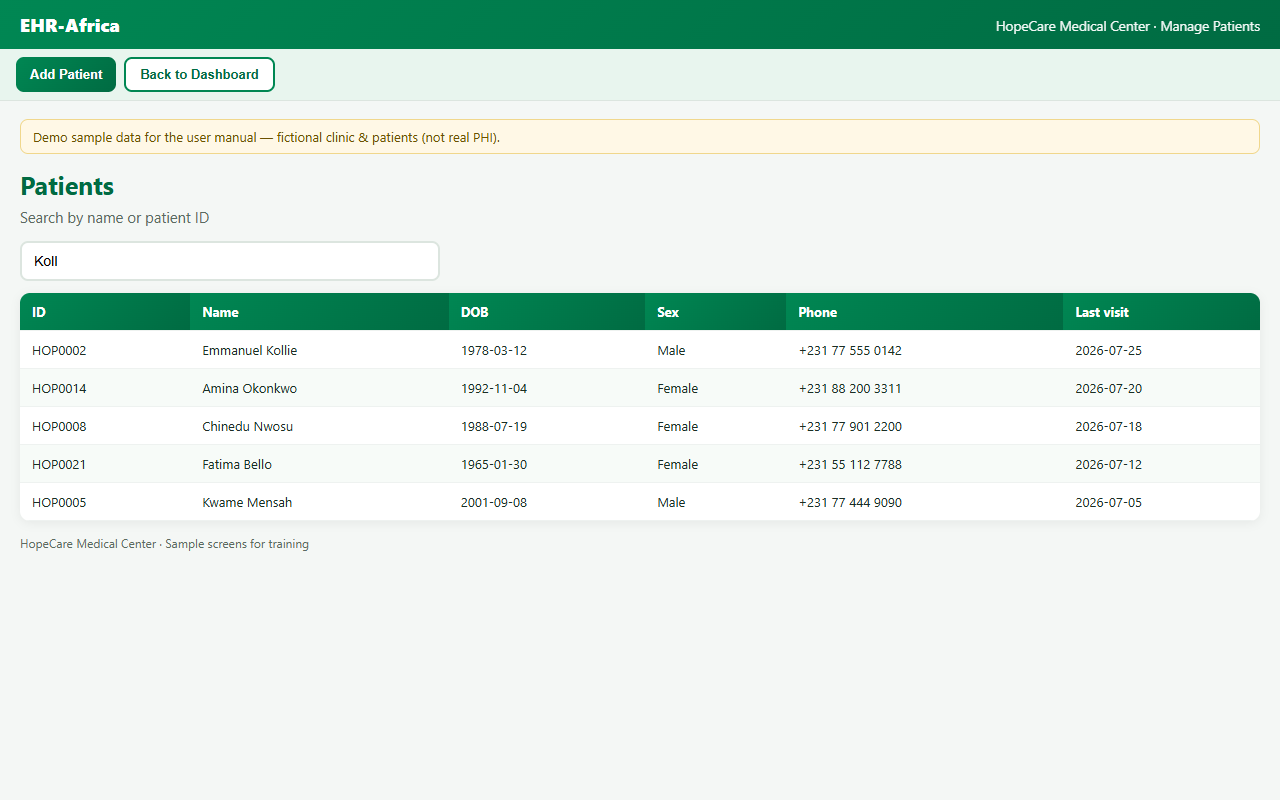
- Click Manage Patients.
- Search by name, patient ID (MRN), or phone, or click Add Patient.
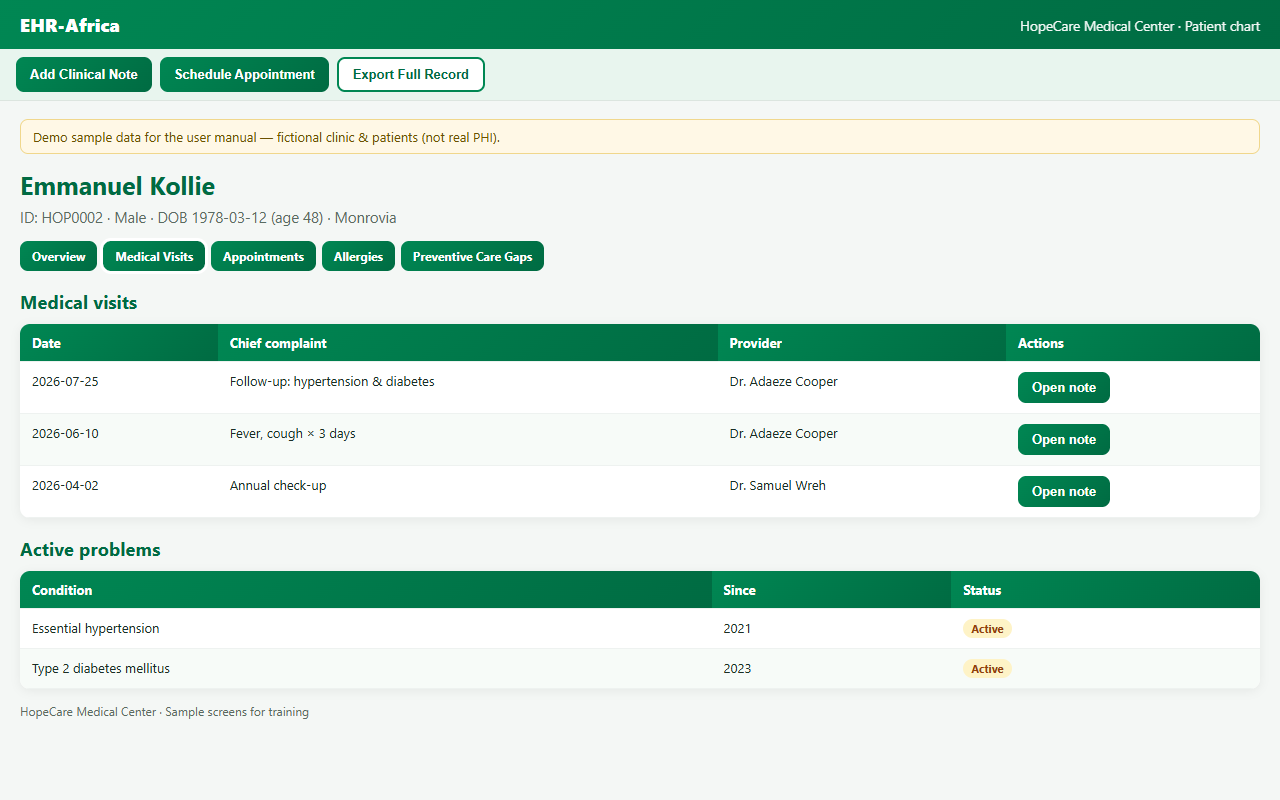
- Open a patient to see their chart, visits, notes, labs, and documents.
Patient intake: If your clinic uses the public intake form, new submissions appear under Review Patient Intake on the dashboard. Approve or reject before the chart is created.
Unstructured records: Use Add Unstructured Medical Records to attach paper-era history before full digitization.
4. Clinical Notes
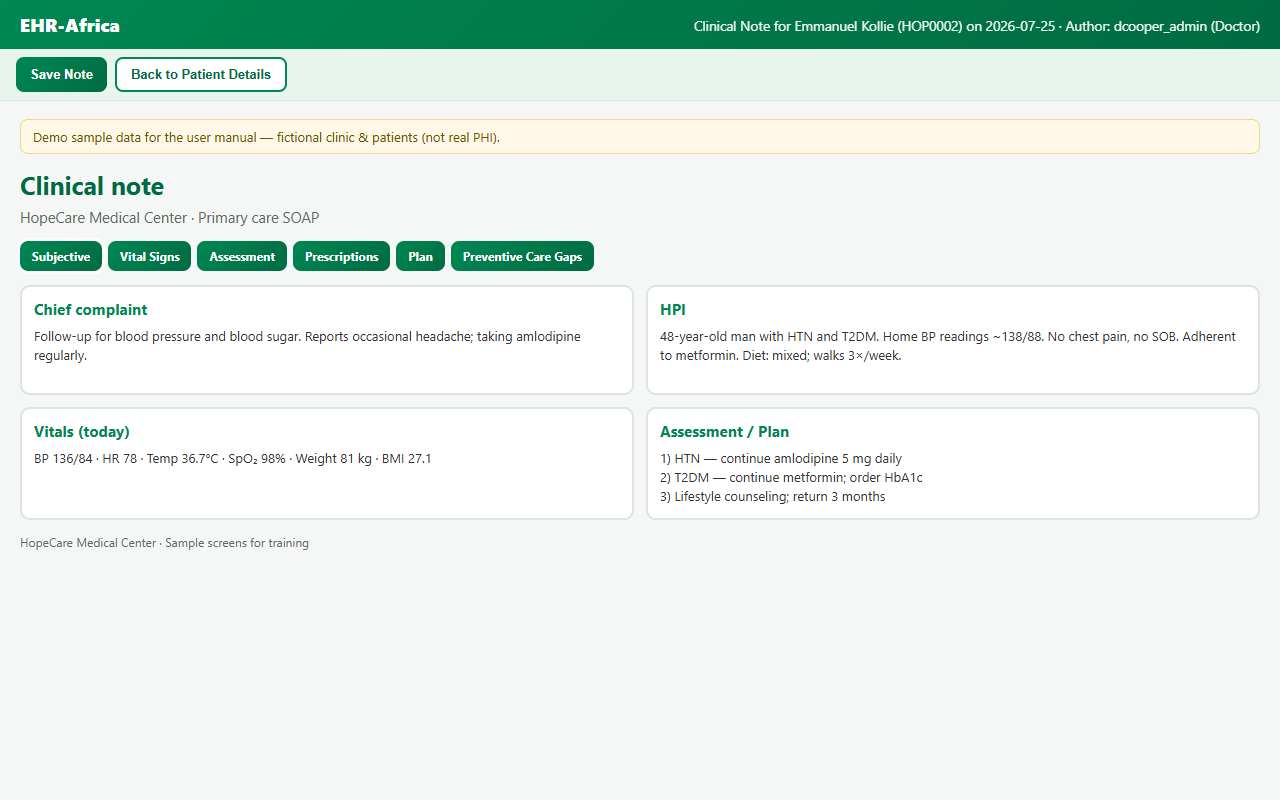
From a patient, open a clinical note to document the visit (SOAP). Save often.
- Orders: lab, imaging, and referrals from the note. Use View Order to open a placed order by ID.
- Prescriptions: sign Rx. They sync to the pharmacy dashboard when in-house pharmacy is on.
- Preventive Care Gaps: expand the gaps panel, mark addressed, optional proof upload.
- Psychology Template: schedule follow-up and lock the note when finished (where enabled).
- Bill Visit: on the Medical Visits tab, charge for that encounter.
5. Appointments
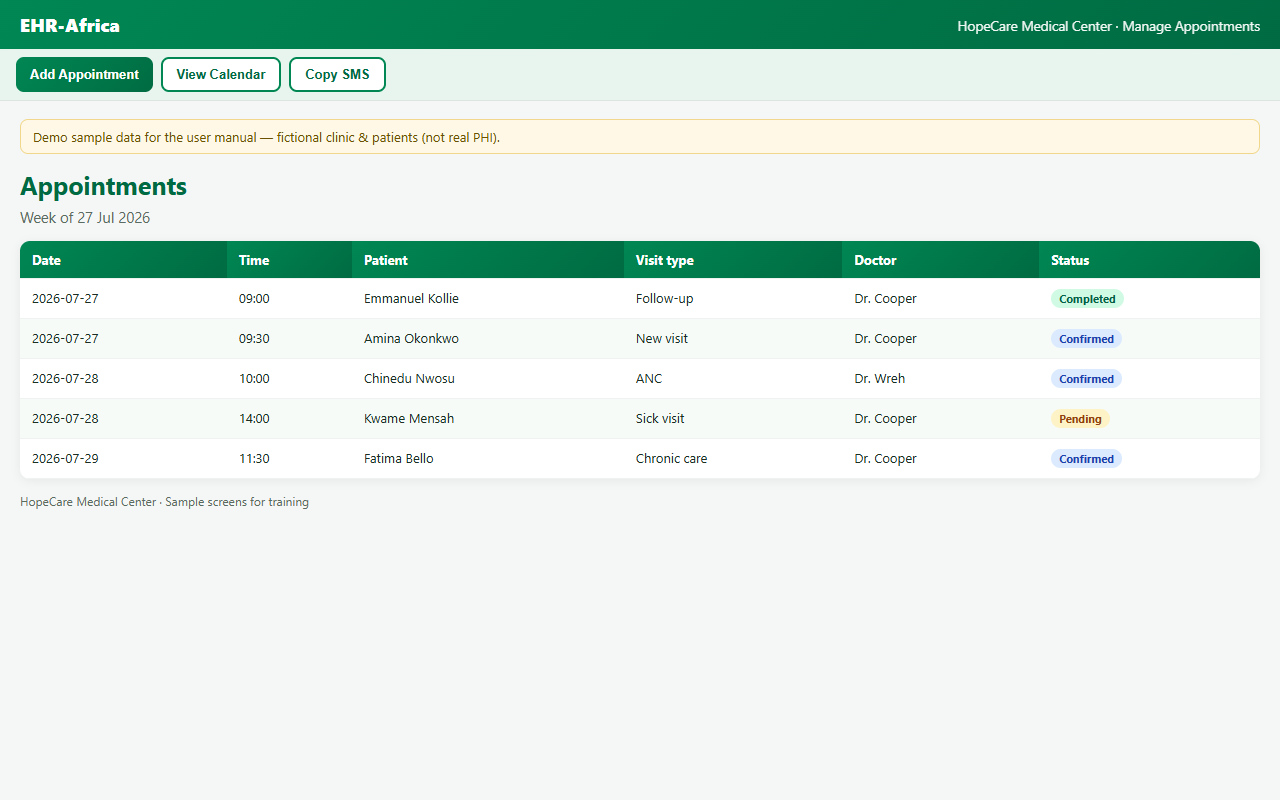
Manage Appointments: book, edit, and cancel visits. View Schedule Calendar: calendar with closed days and holidays labeled.
Scheduling setup (admins):
- Configure Facility Schedule: different hours per weekday, multiple lunch breaks, public holidays, custom slot length (for example 35 minutes).
- Doctor Daily Schedule: see each doctor’s day. Book from an open slot.
- Configure Pharmacy Hours: when in-house pharmacy is enabled.
- Appointment Reminder Settings: SMS lead days. Use Copy SMS for manual reminders.
6. Billing and Payments
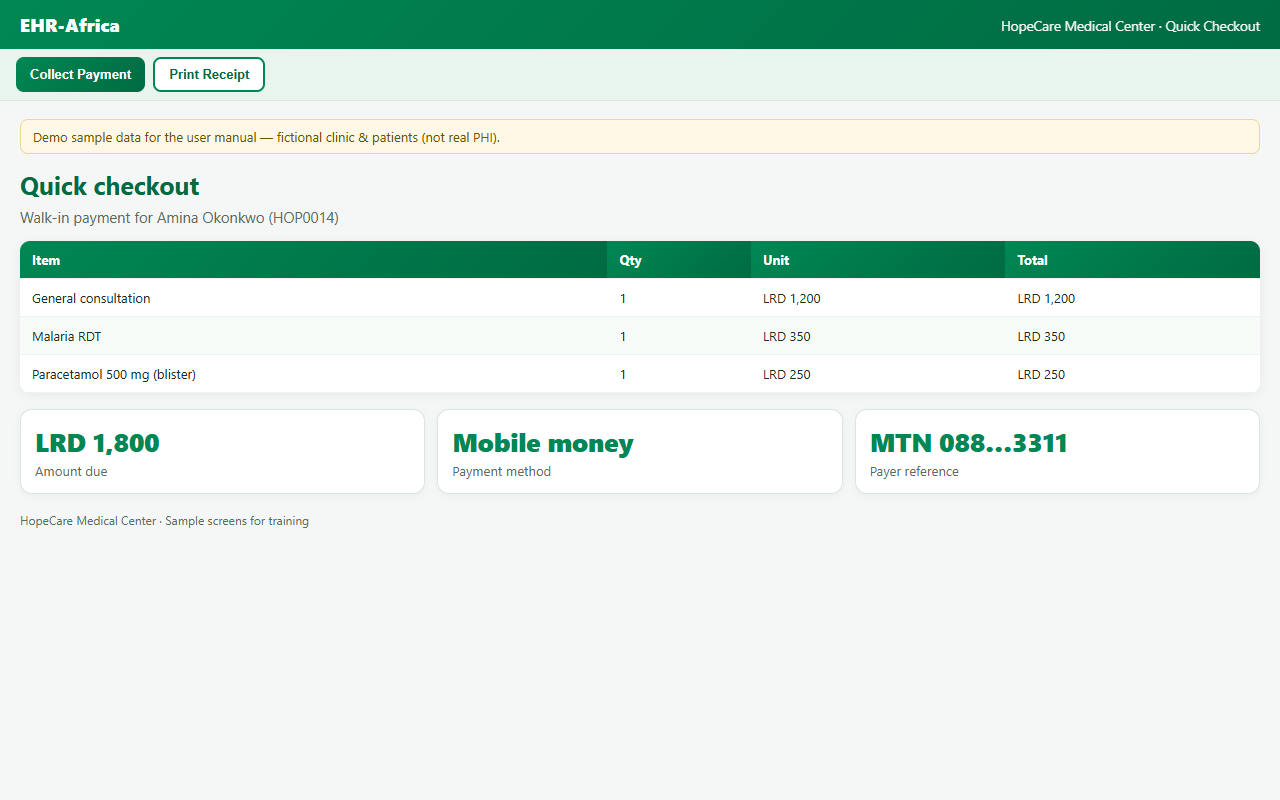
Quick Checkout is fastest for walk-in patients who pay now:
- Billing & Payments, then Quick Checkout
- Select patient, add services, pay (cash or mobile money), then print receipt
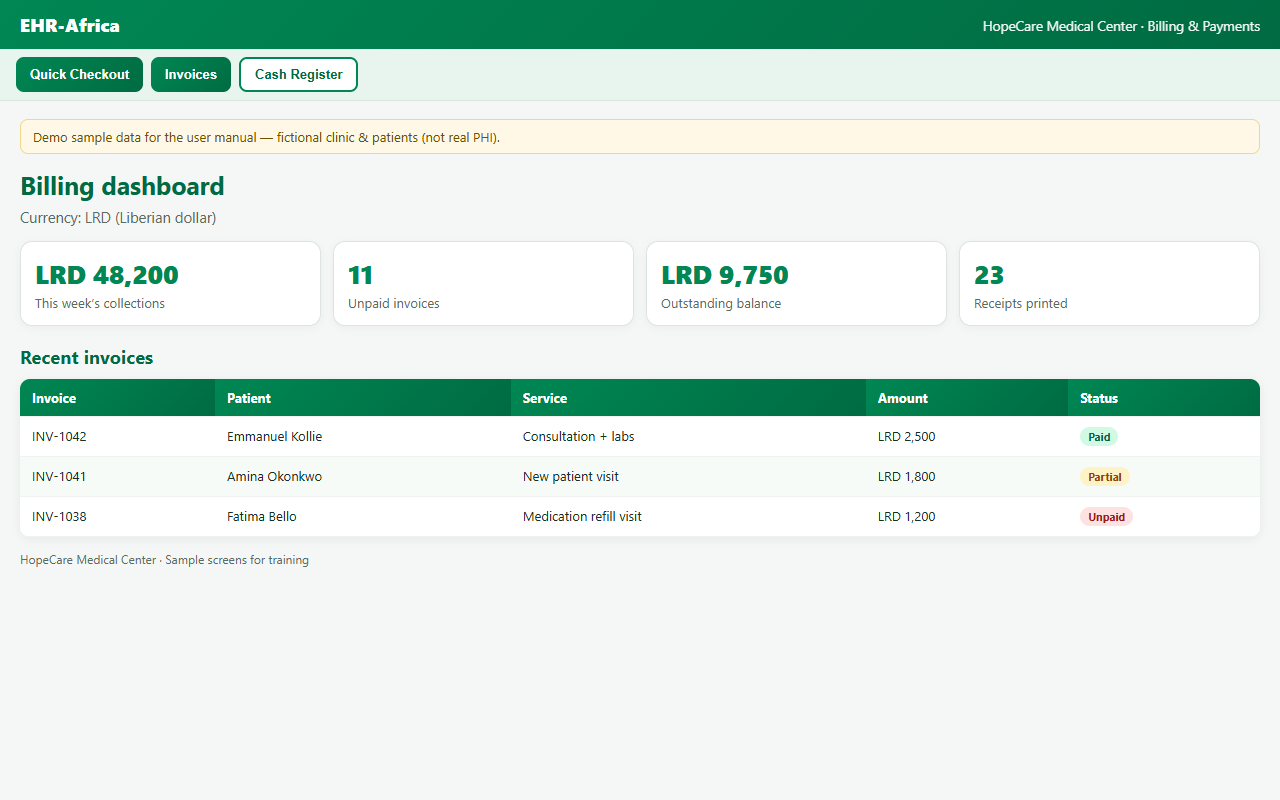
From Billing & Payments you can also open invoices, record a later payment, void a mistaken payment (with a reason), open or close the cash register, and run reports.
Configure services: Admins set your clinic’s price list under Billing, then Configure Services (or from the billing dashboard). Quick checkout and invoices use this catalog.
7. Insurance and HMO Claims
If your clinic bills HMOs or insurers through the app:
- Payer Setup: register each HMO or insurer (admins).
- Enrollees: link patients to member numbers per payer.
- Tariffs: maintain payer price schedules.
- Create a cash invoice as usual, then open Insurance Claims, draft a claim from the invoice, validate, and export a batch (CSV, JSON, or FHIR) for submission to the payer.
Cash billing is unchanged. Claims are optional for insured visits.
8. Messages
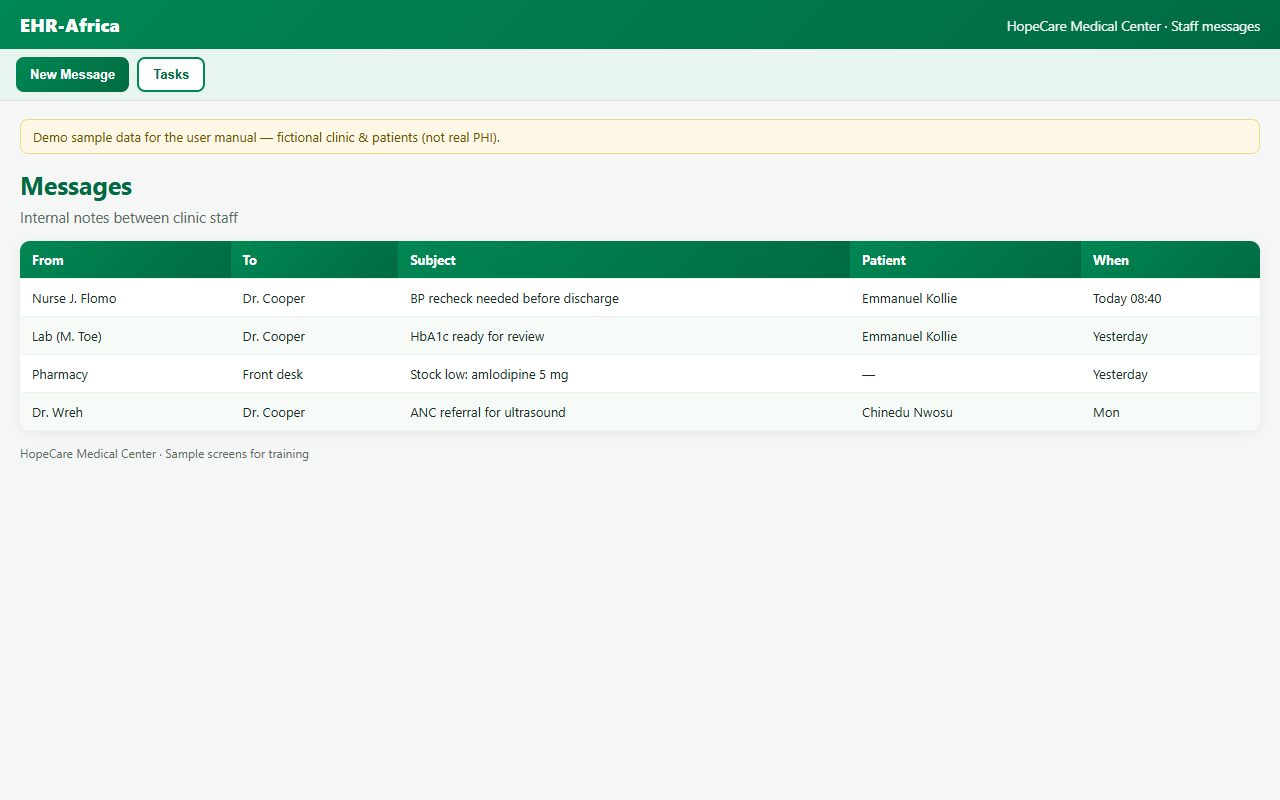
Dashboard, then Messages & Tasks for internal notes between staff. You can send to multiple recipients in one message.
Patient portal users can message the clinic. Staff reply from the same messages area. Unread counts appear on the dashboard button.
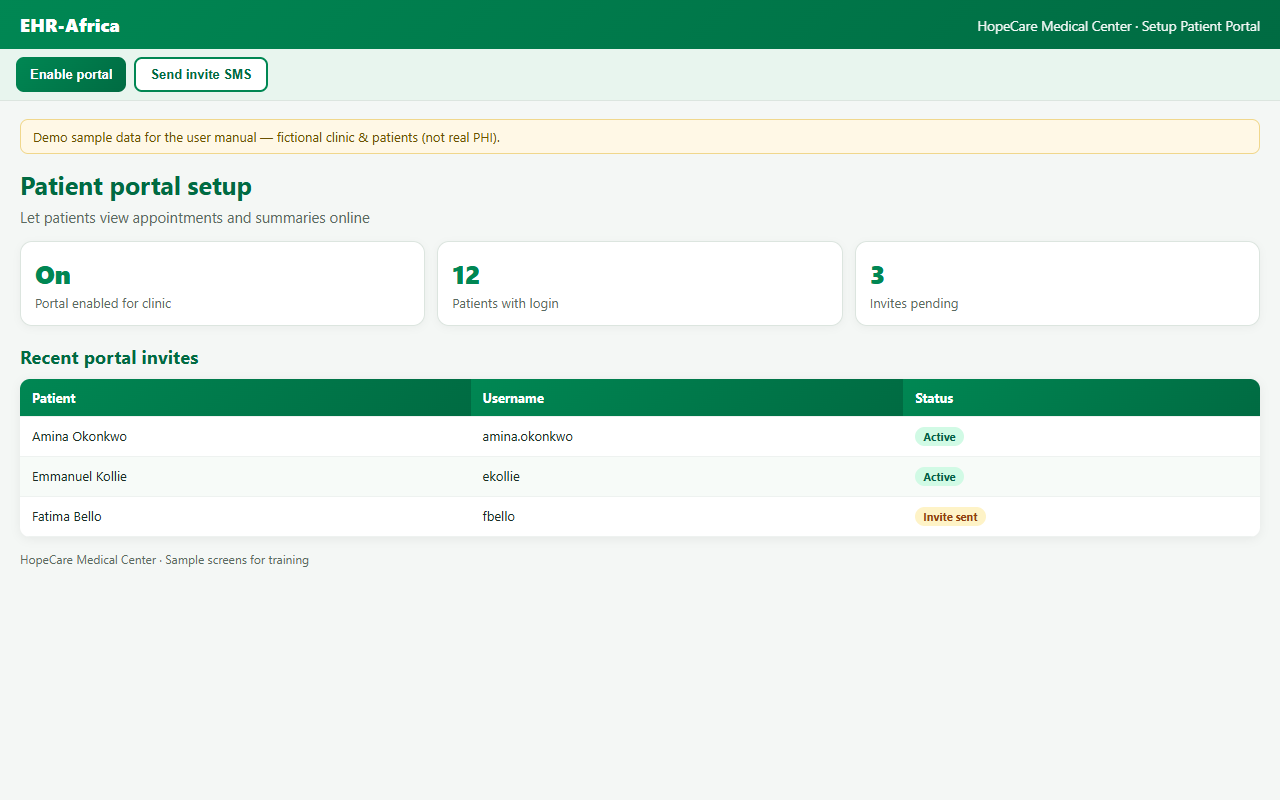
9. Patient Portal
Administrators: Setup Patient Portal on the dashboard. Create a portal login for a patient. You stay signed in as staff.
Patients can view appointments, medications, released results, and message the clinic (where enabled).
10. Role Dashboards
| If You Are | Use This Button |
|---|---|
| Pharmacist | Pharmacy Dashboard: Rx queue, dispense, inventory |
| Lab Scientist | Lab Scientist Dashboard: enter results |
| Biller / Accountant | Biller/Accountant Dashboard: payments, pharmacy billing |
| Doctor | Lab Results Dashboard; External Lab Orders; Upcoming Appointments; Blood Pressure Alerts |
| Nurse / Admin | External Lab Orders; Admissions Dashboard (if inpatient is on) |
| Doctor (Credentials) | Physician credential verification: upload regulator documents |
11. In-Patient (Hospitals)
- Admin turns In-Patient Services on from the dashboard.
- Configure rooms and beds.
- Admit from the clinical note. Assign beds from Admissions Dashboard.
Only nurses and administrators see the Admissions Dashboard. The Admit Patient button appears on the clinical note after in-patient services are turned on.
12. Working Without Internet
Log in and open the pages you need while online. When the connection drops, you can often keep documenting. Changes sync when you’re back online.
Look for the sync status indicator on key pages (online, offline, or pending sync).
13. Facility Setup (Administrators)
| Task | Where |
|---|---|
| Turn on in-house lab | Dashboard, then In-House Laboratory toggle |
| Turn on in-house pharmacy | Dashboard, then In-House Pharmacy toggle |
| Turn on inpatient beds | Dashboard, then In-Patient Services toggle |
| Clinic hours and holidays | Configure Facility Schedule |
| Service prices | Billing, then Configure Services |
| Manual patient numbering | Dashboard toggle (if your org uses it) |
14. Reports
- View Reports: clinic summaries and exports
- Preventive Gaps Summary: overdue screenings
- Conditions Breakdown / Condition Stats: population analytics
- Blood Group Summary: transfusion planning support
- View Deleted Patients: recover soft-deleted records (admins)
15. Administrators
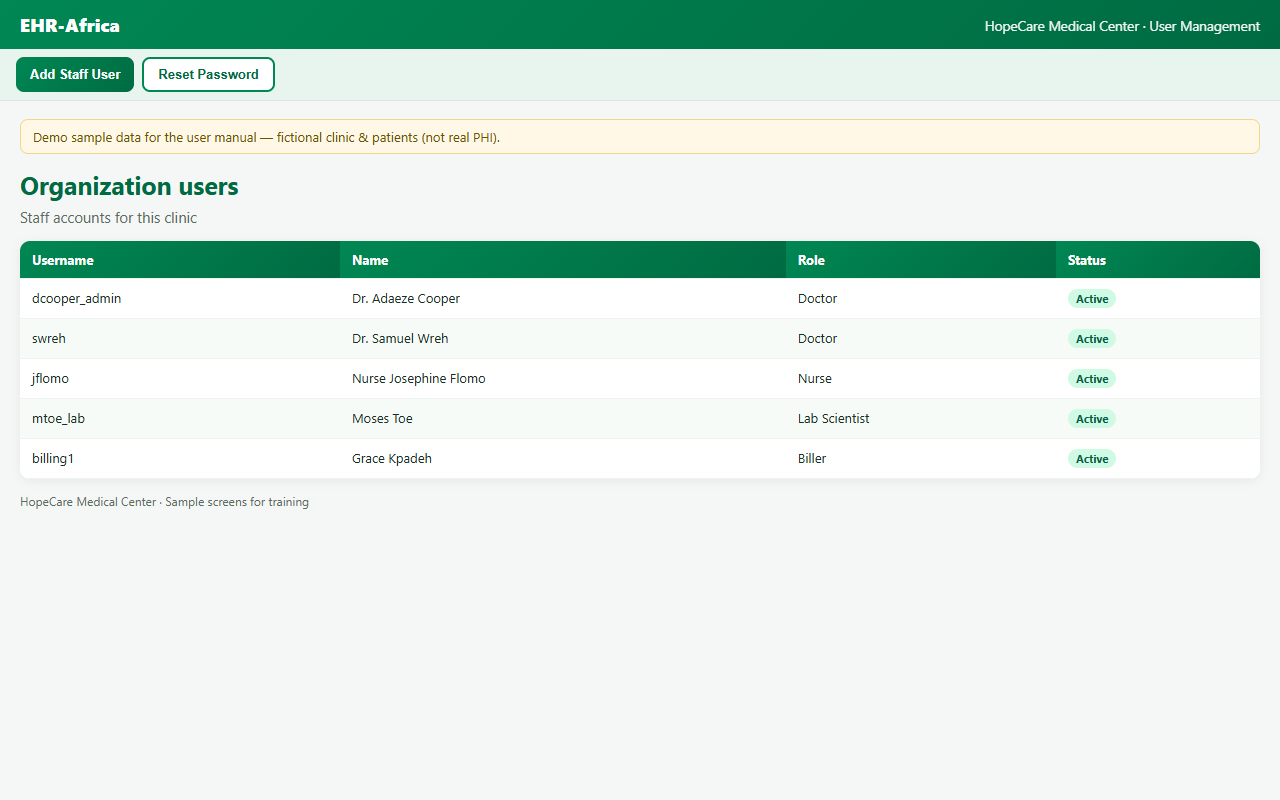
- User Management: add staff, set roles
- Organization Code: share with new staff for registration
- View Audit Log: who changed what
- Security Dashboard: security events
- Manage Subscription: plan, payment, limits
- Download / Restore Backup: data protection
16. When Something Goes Wrong
| Problem | What to Do |
|---|---|
| Cannot log in | Check username and password. Ask your admin. |
| Locked during registration | Do not register again. Tell your clinic administrator the username you tried. They will clear the incomplete account, then you can register. |
| Changes not saving | Check internet. Look at the sync indicator. Refresh when online. |
| Wrong payment recorded | Billing, then View All Payments, then Void (with a reason) |
17. More Guides
Support: support@eworkchop.com